Here is a EmuDeck ROG Ally emulation guide to get all emulators set up on your ASUS ROG Ally with the proper configuration, bezels, hotkeys, performance fixes and more.
EmuDeck is a collection of scripts that allows you to autoconfigure your ROG Ally, it creates your roms directory structure and downloads all of the needed Emulators for you along with the best configurations for each of them.
Update: Nintendo has shutdown the Nintendo Switch emulator Yuzu and the Nintendo 3DS emulator Citra.
— yuzu (@yuzuemu) March 4, 2024
EmuDeck ROG Ally Emulation Guide
- Download and install the latest version of EmuDeck for Windows here.
- Next you want to select what drive you want your ROM directory to be on.

- Next you want to select the ASUS ROG Ally.

- Choose what Emulators and Tools you want installed.
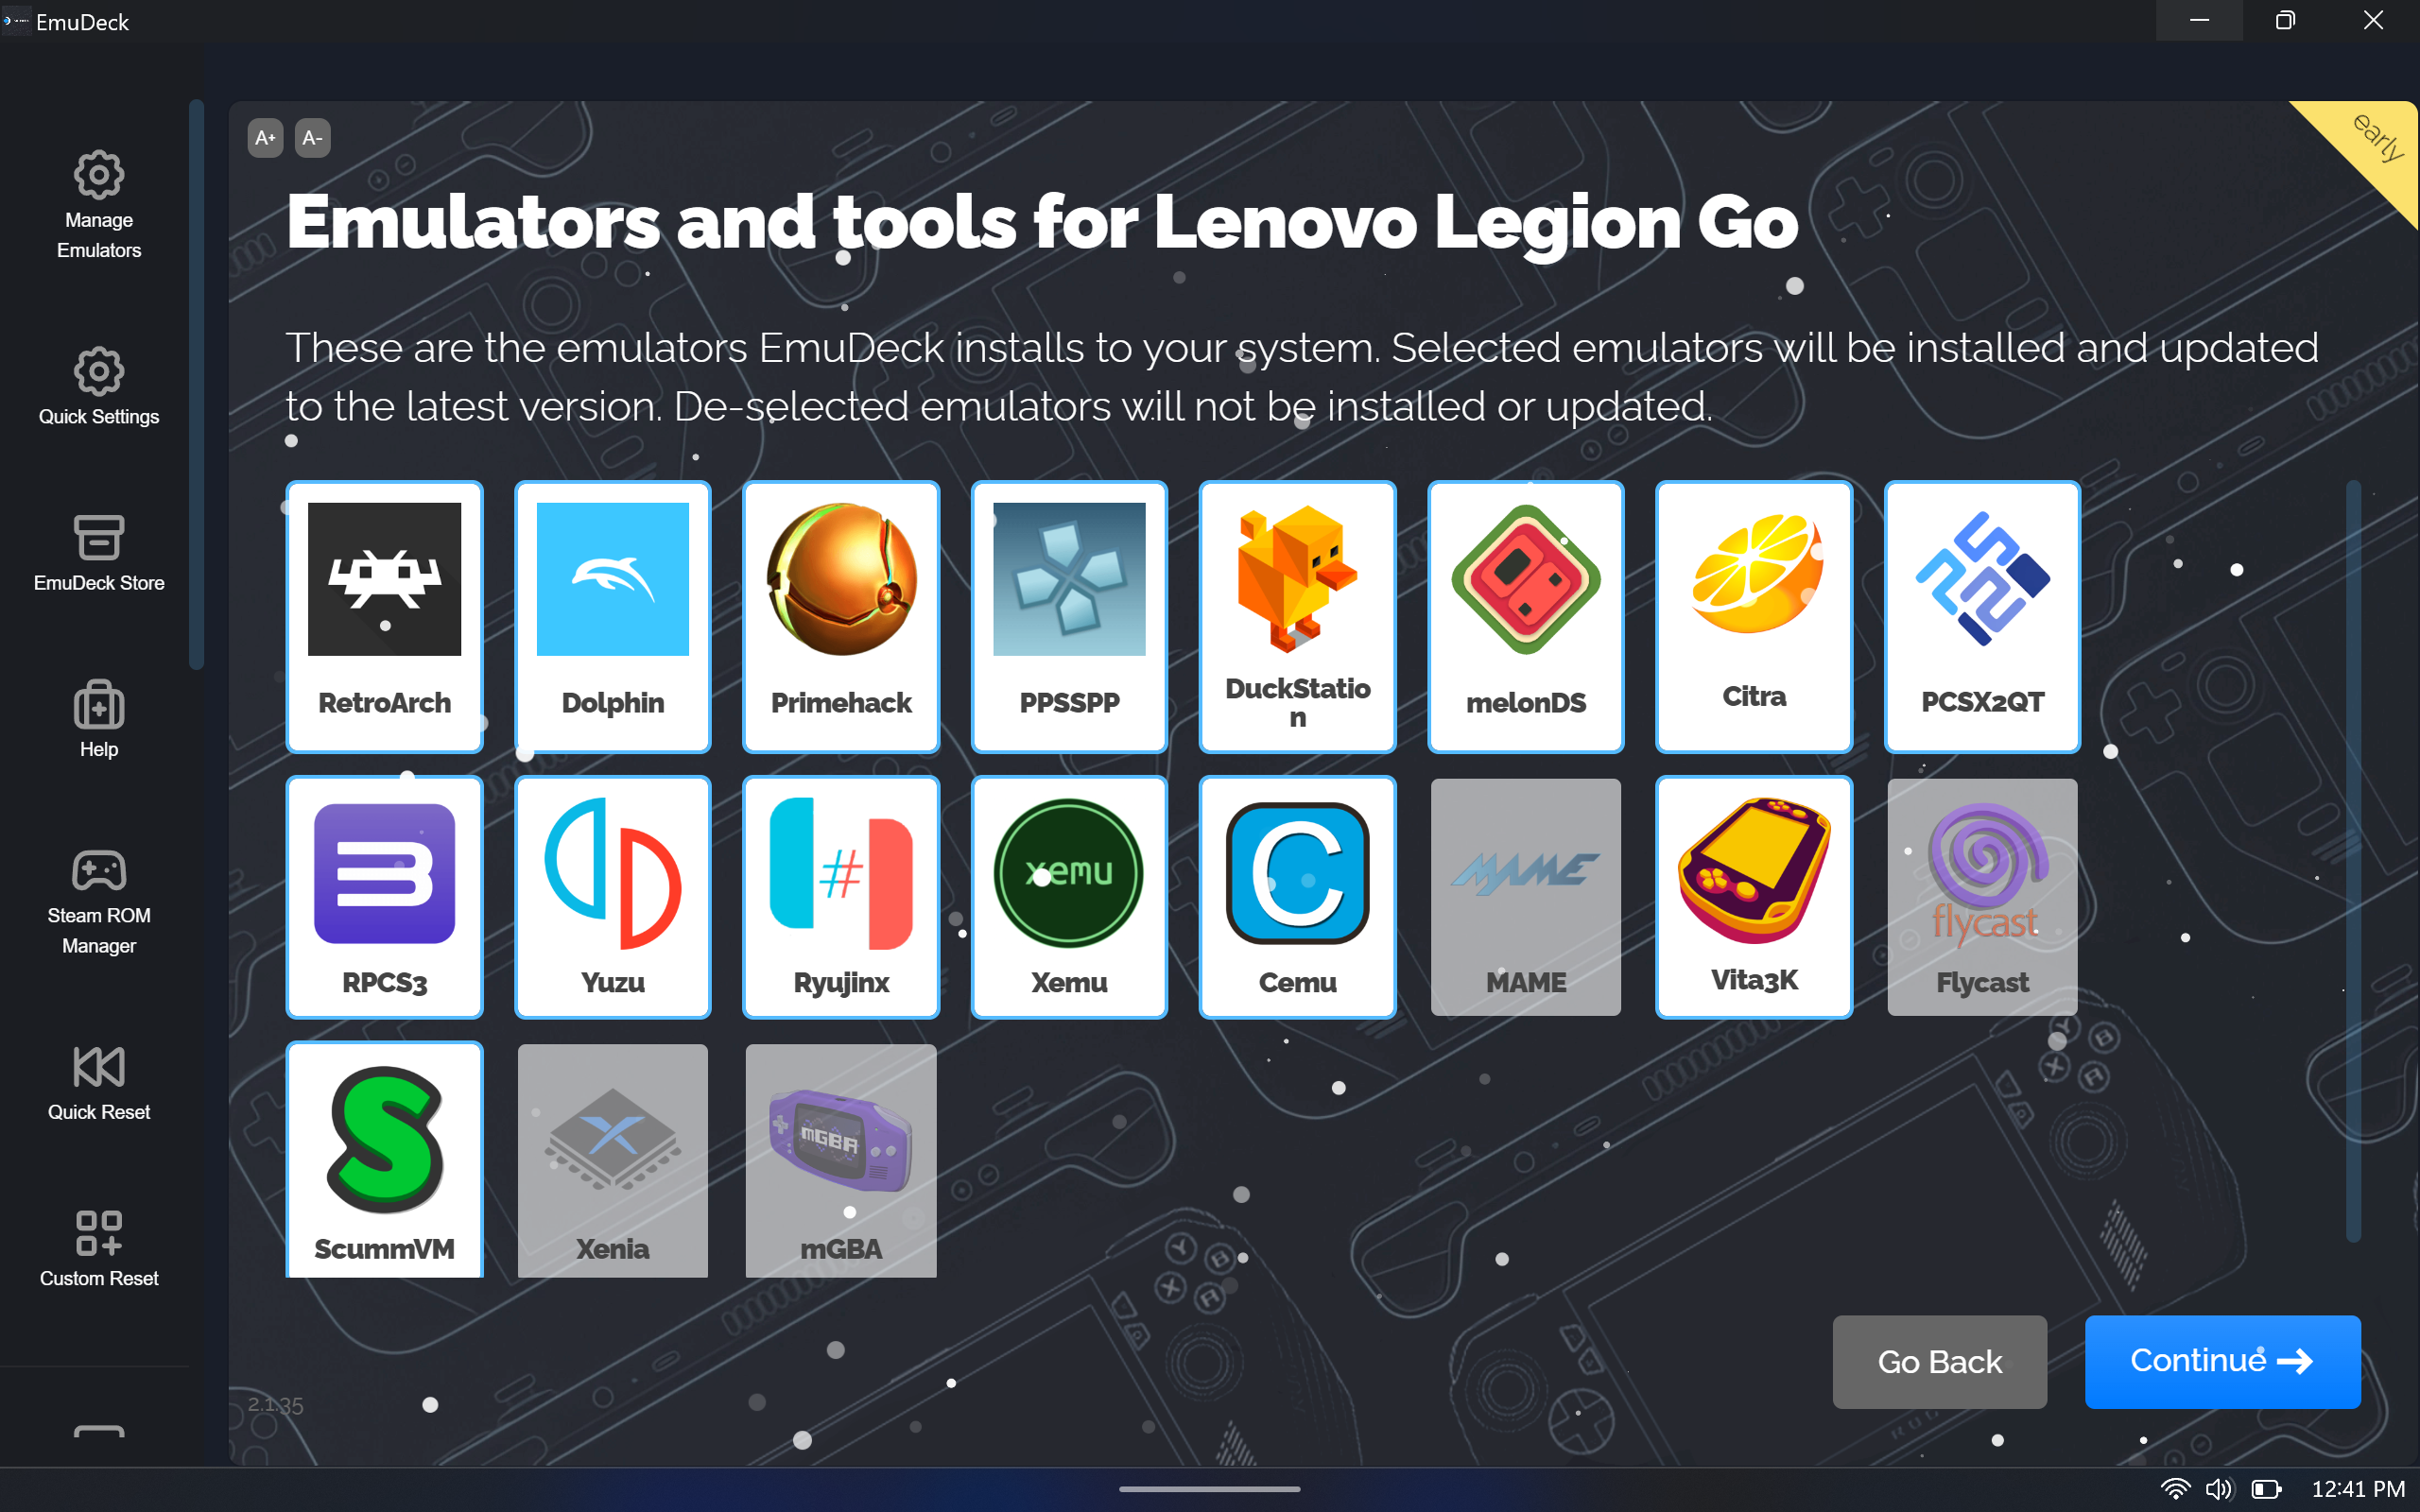
- If you want to enable Auto Save for these specific emulators click On.

- If you want to enable Retro Achievements you can enter you login information here.
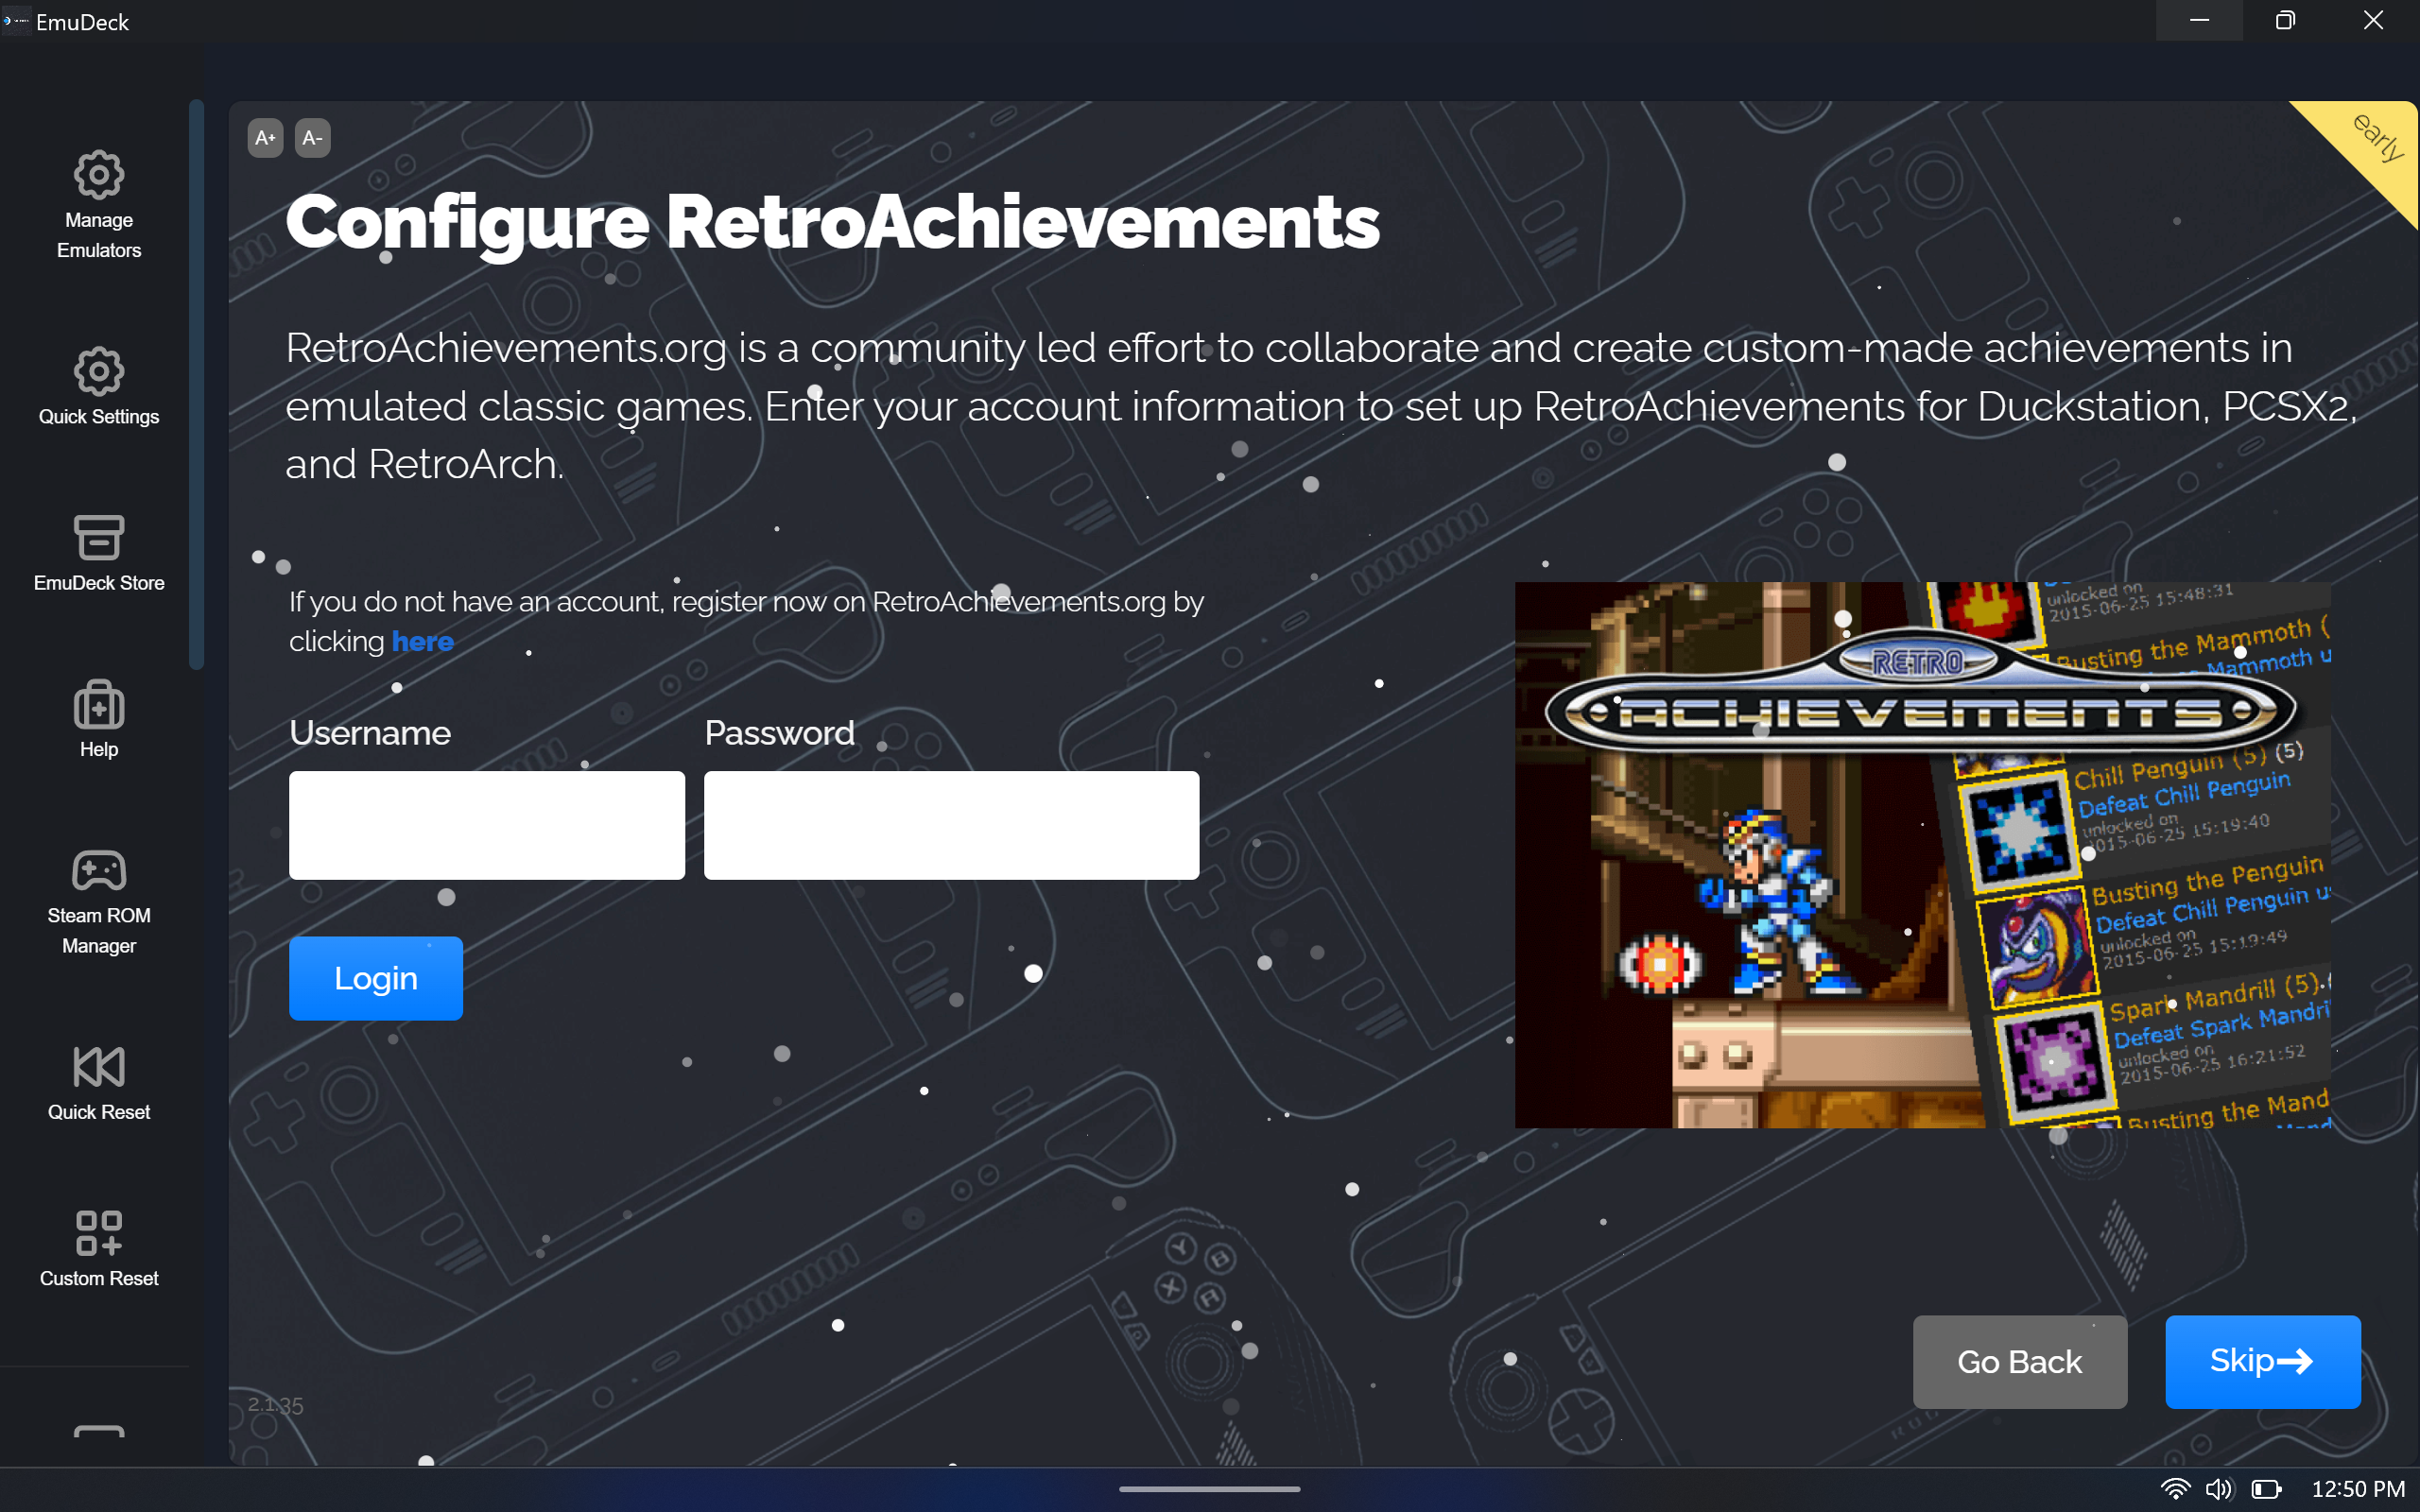
- The next section will ask you to configure bezels and aspect ratios for specific emulators.
- Choose the Frontends and themes you want to use to launch your roms. I personally use ESDE and Steam Library.
- Next you want to select the resolution for each Emulator.

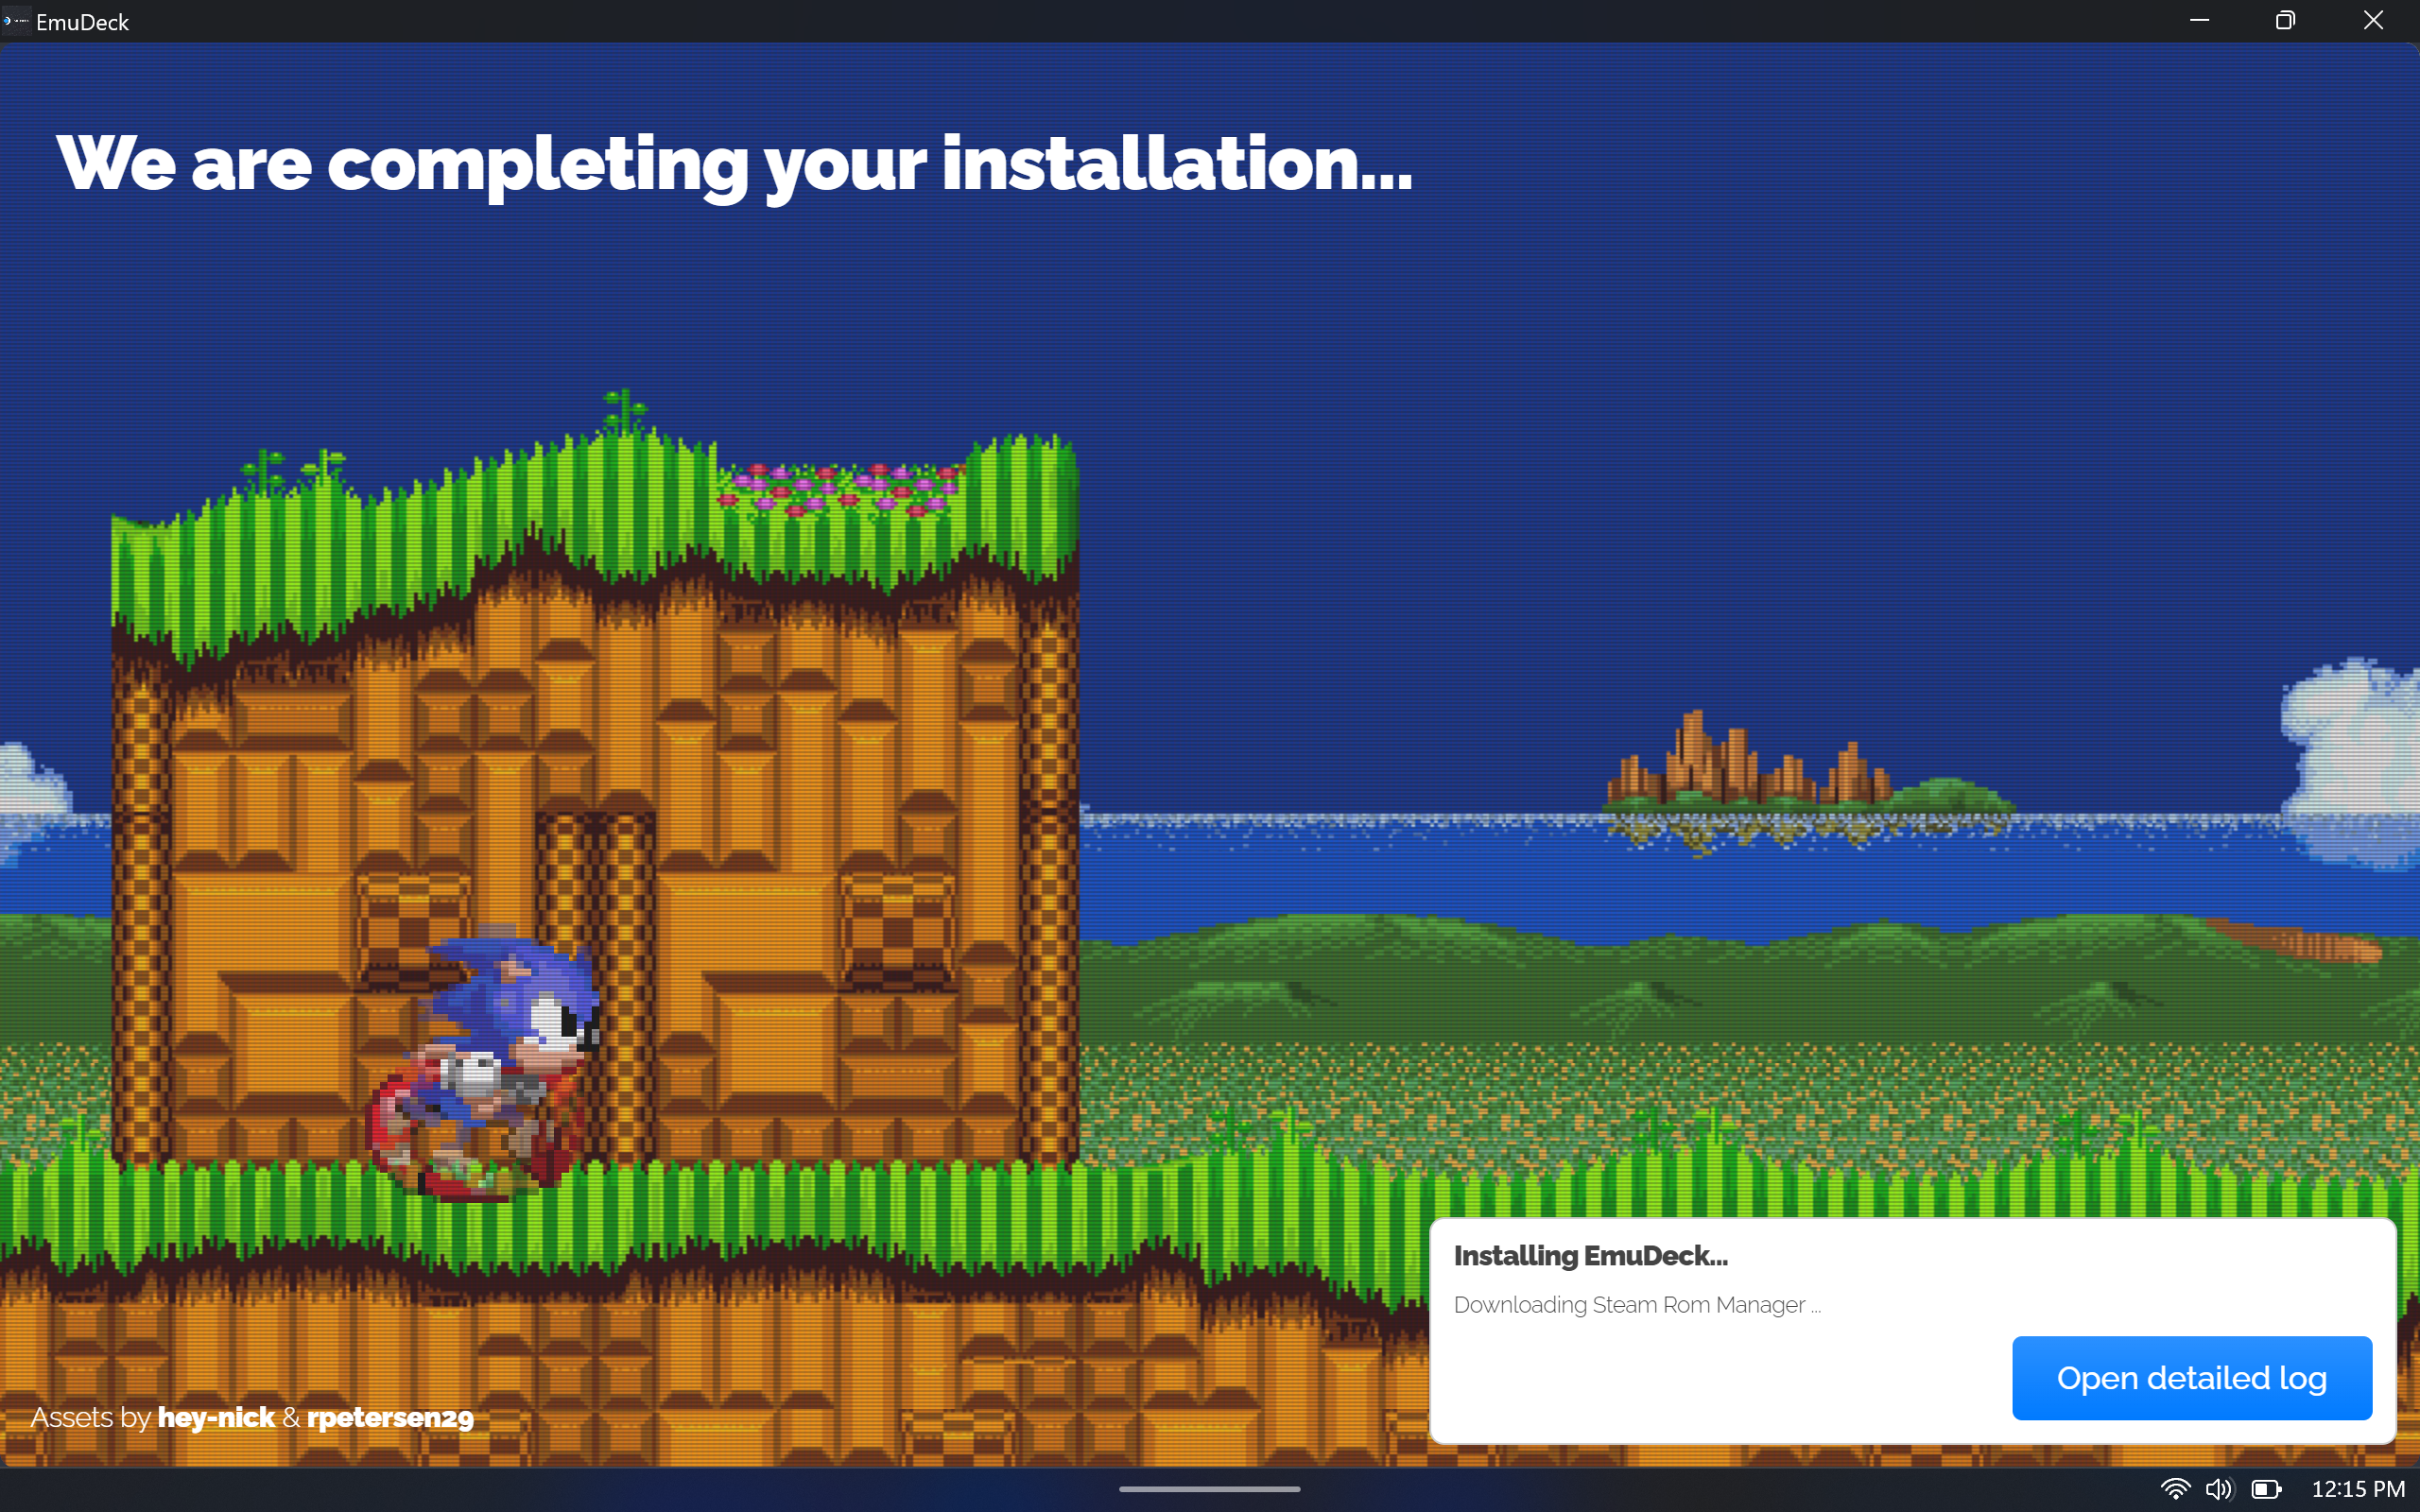
- You should now get a screen asking you to open up Steam Rom Manager. Before we do that, you want to drag all our roms and bios to their correct folders. Open up the drive you selected for your rom directory, open the
Emulationfolder, open theromsfolder and start putting your roms into their proper folder.

- Next you want to place all the bios files for the Emulators that need one in the
biosfolder inside yourEmulationfolder. You can learn more about what Emulator needs a bios on the EmuDeck wiki page here. You can find all bios files with a simple google search.
Updating Emulators in EmuDeck
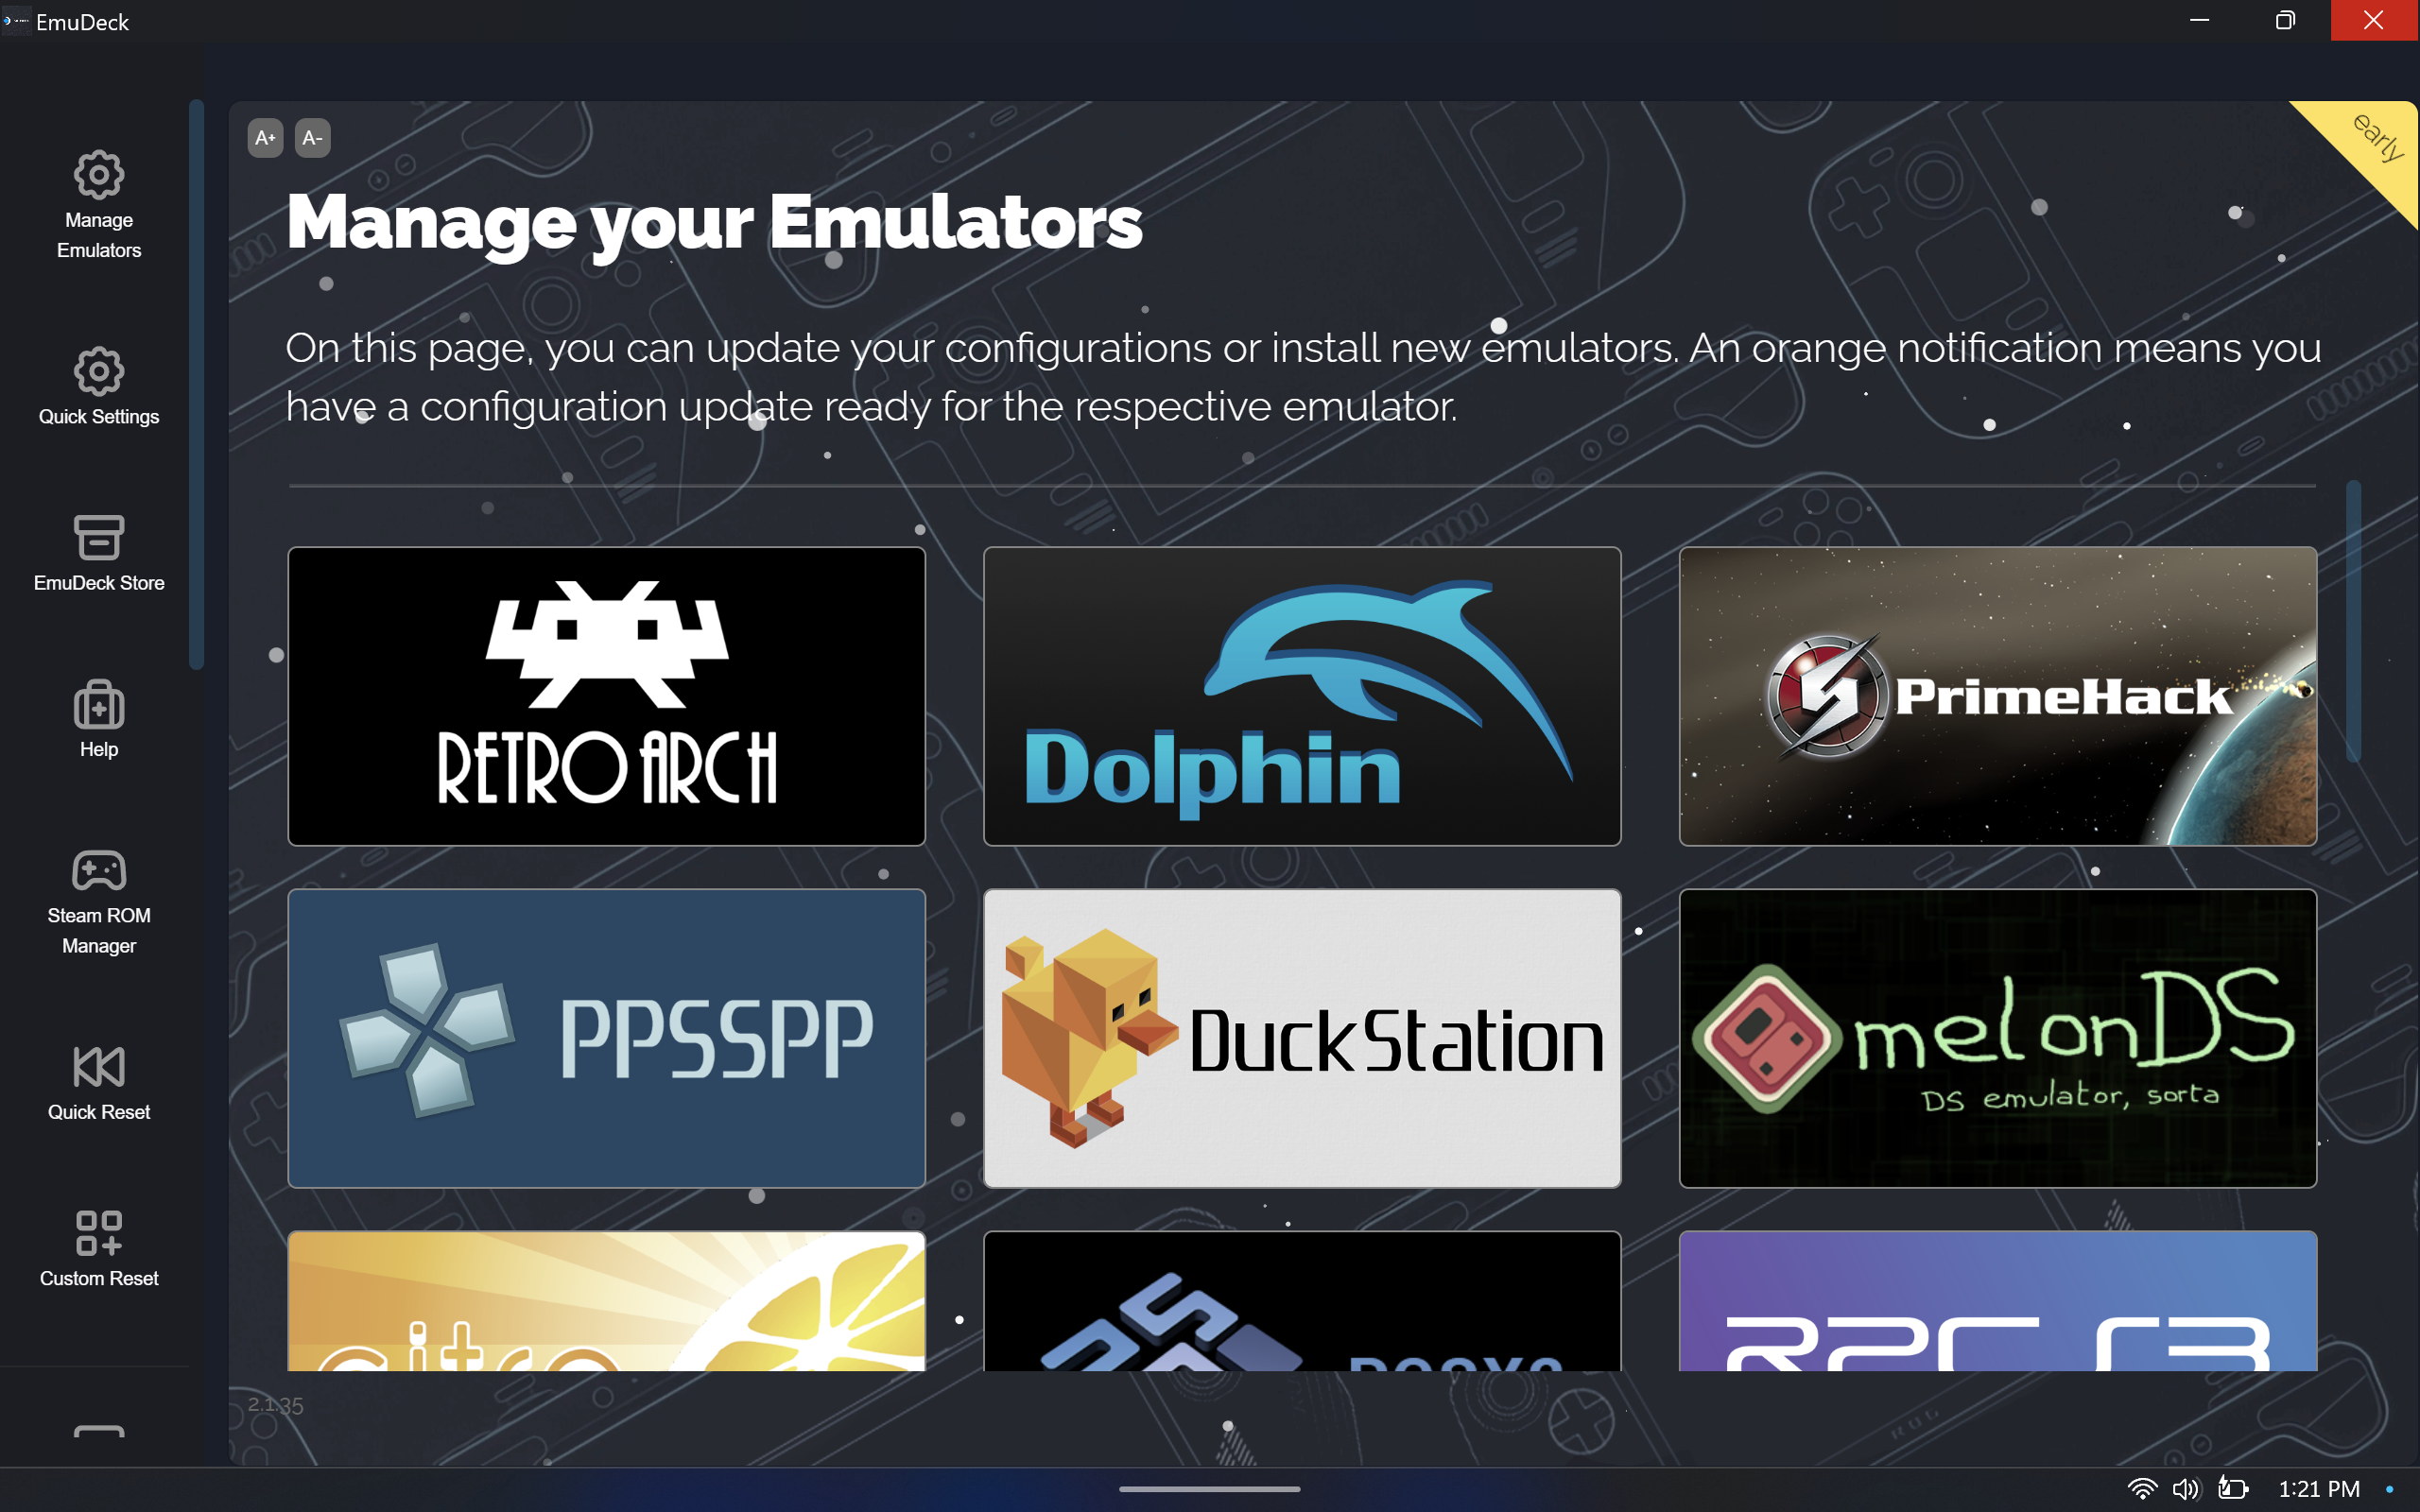
- Inside EmuDeck go to Manage Emulators, select the Emulator you want to update and then click reinstall/update.
Steam Rom Manager On The ROG Ally
Steam ROM Manager is a super flexible tool for adding non-Steam games to Steam in bulk and managing their artwork assets and controller templates.
- After placing your Roms and Bios in their proper folder, Make sure Steam is completely closed. Open up EmuDeck again and click
Steam Rom Manager. - Parsers let’s you toggle which emulators/games you want added to your Steam Library. Make sure to toggle EmulationStationDE. After toggling what you want in your Steam Library, click preview.

- Click
Parseto scan all the roms in your library and download artwork for each game. The emulators and games you toggled should show. You can edit artwork here or in Steam afterwards. ClickSave to Steamand wait for the Done message to appear in the top right corner. You can exit Steam Rom Manager.
parse save to steam - Restart the Steam app and you will see your Roms/Emulators in your Steam Library.
emulators switch roms
EmulationStation
EmulationStation is a graphical and themeable emulator front-end that allows you to access all your favorite games in one place, even without a keyboard!
- Open up Steam, find and launch
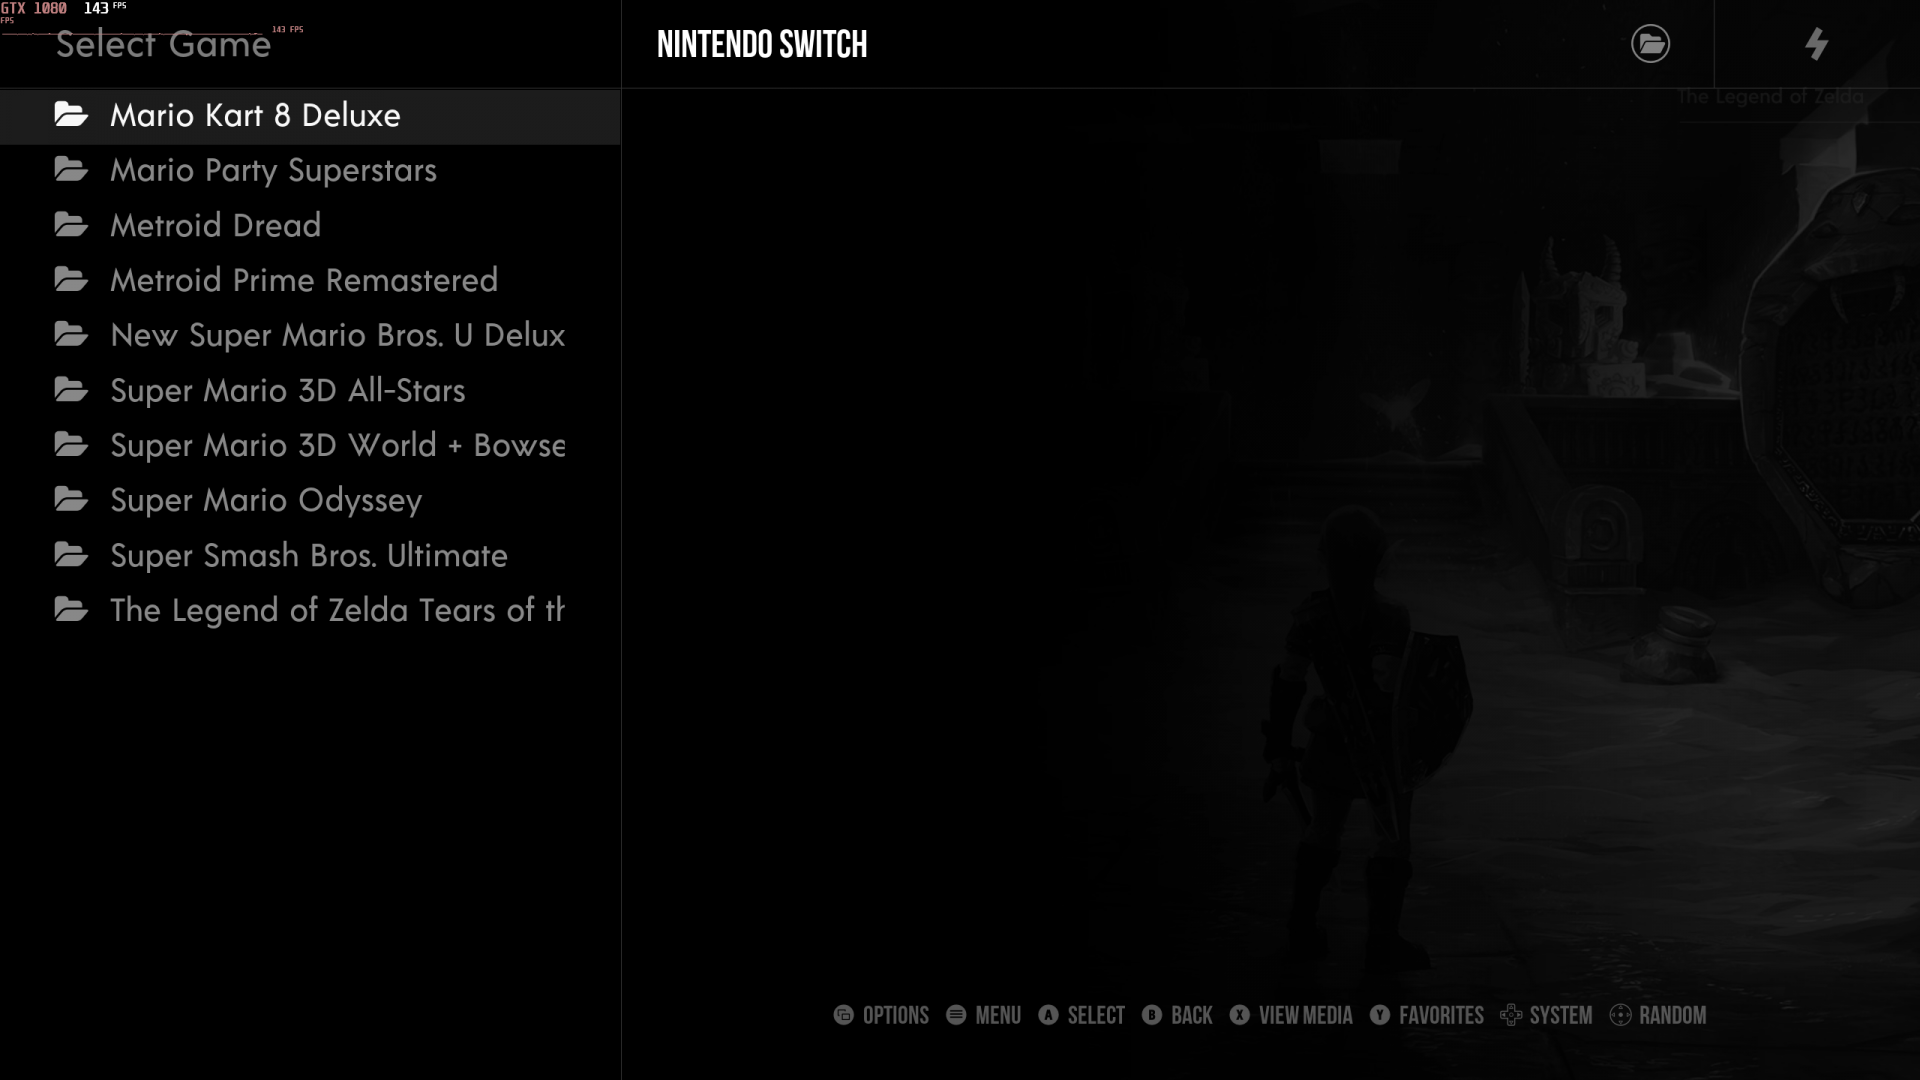
EmulationStation-DE. - All your roms will be categorized by system.
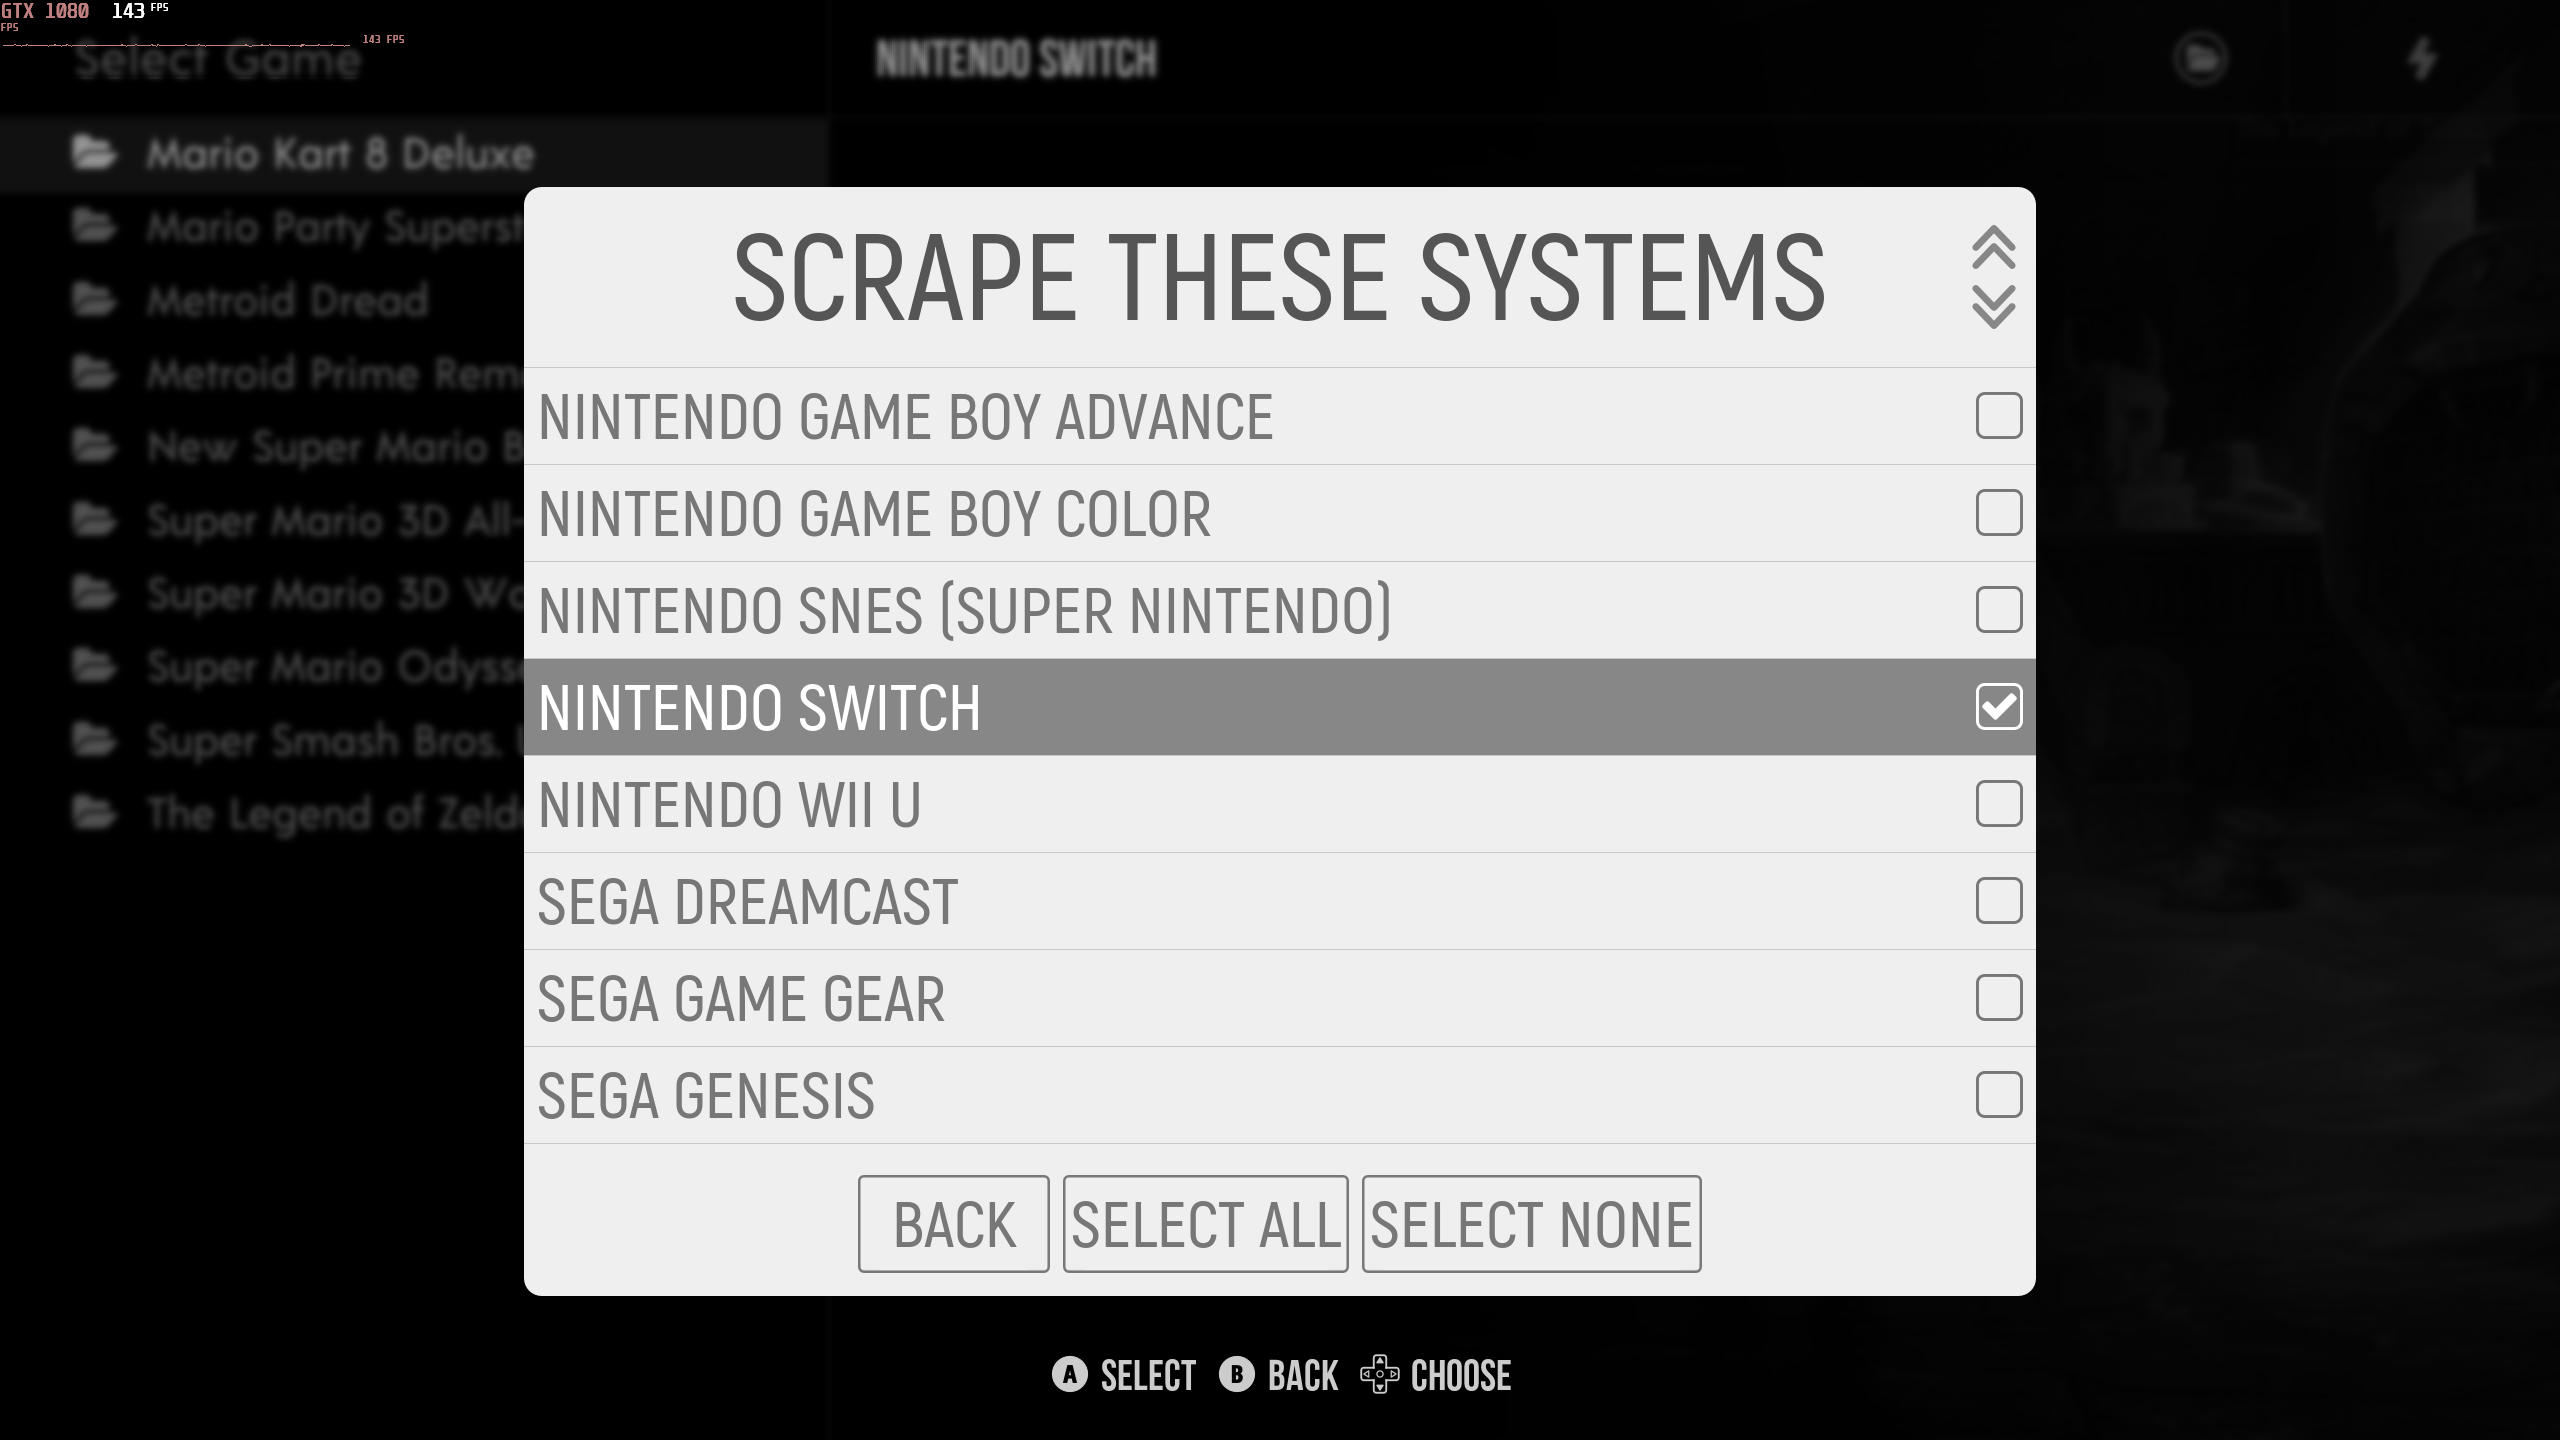
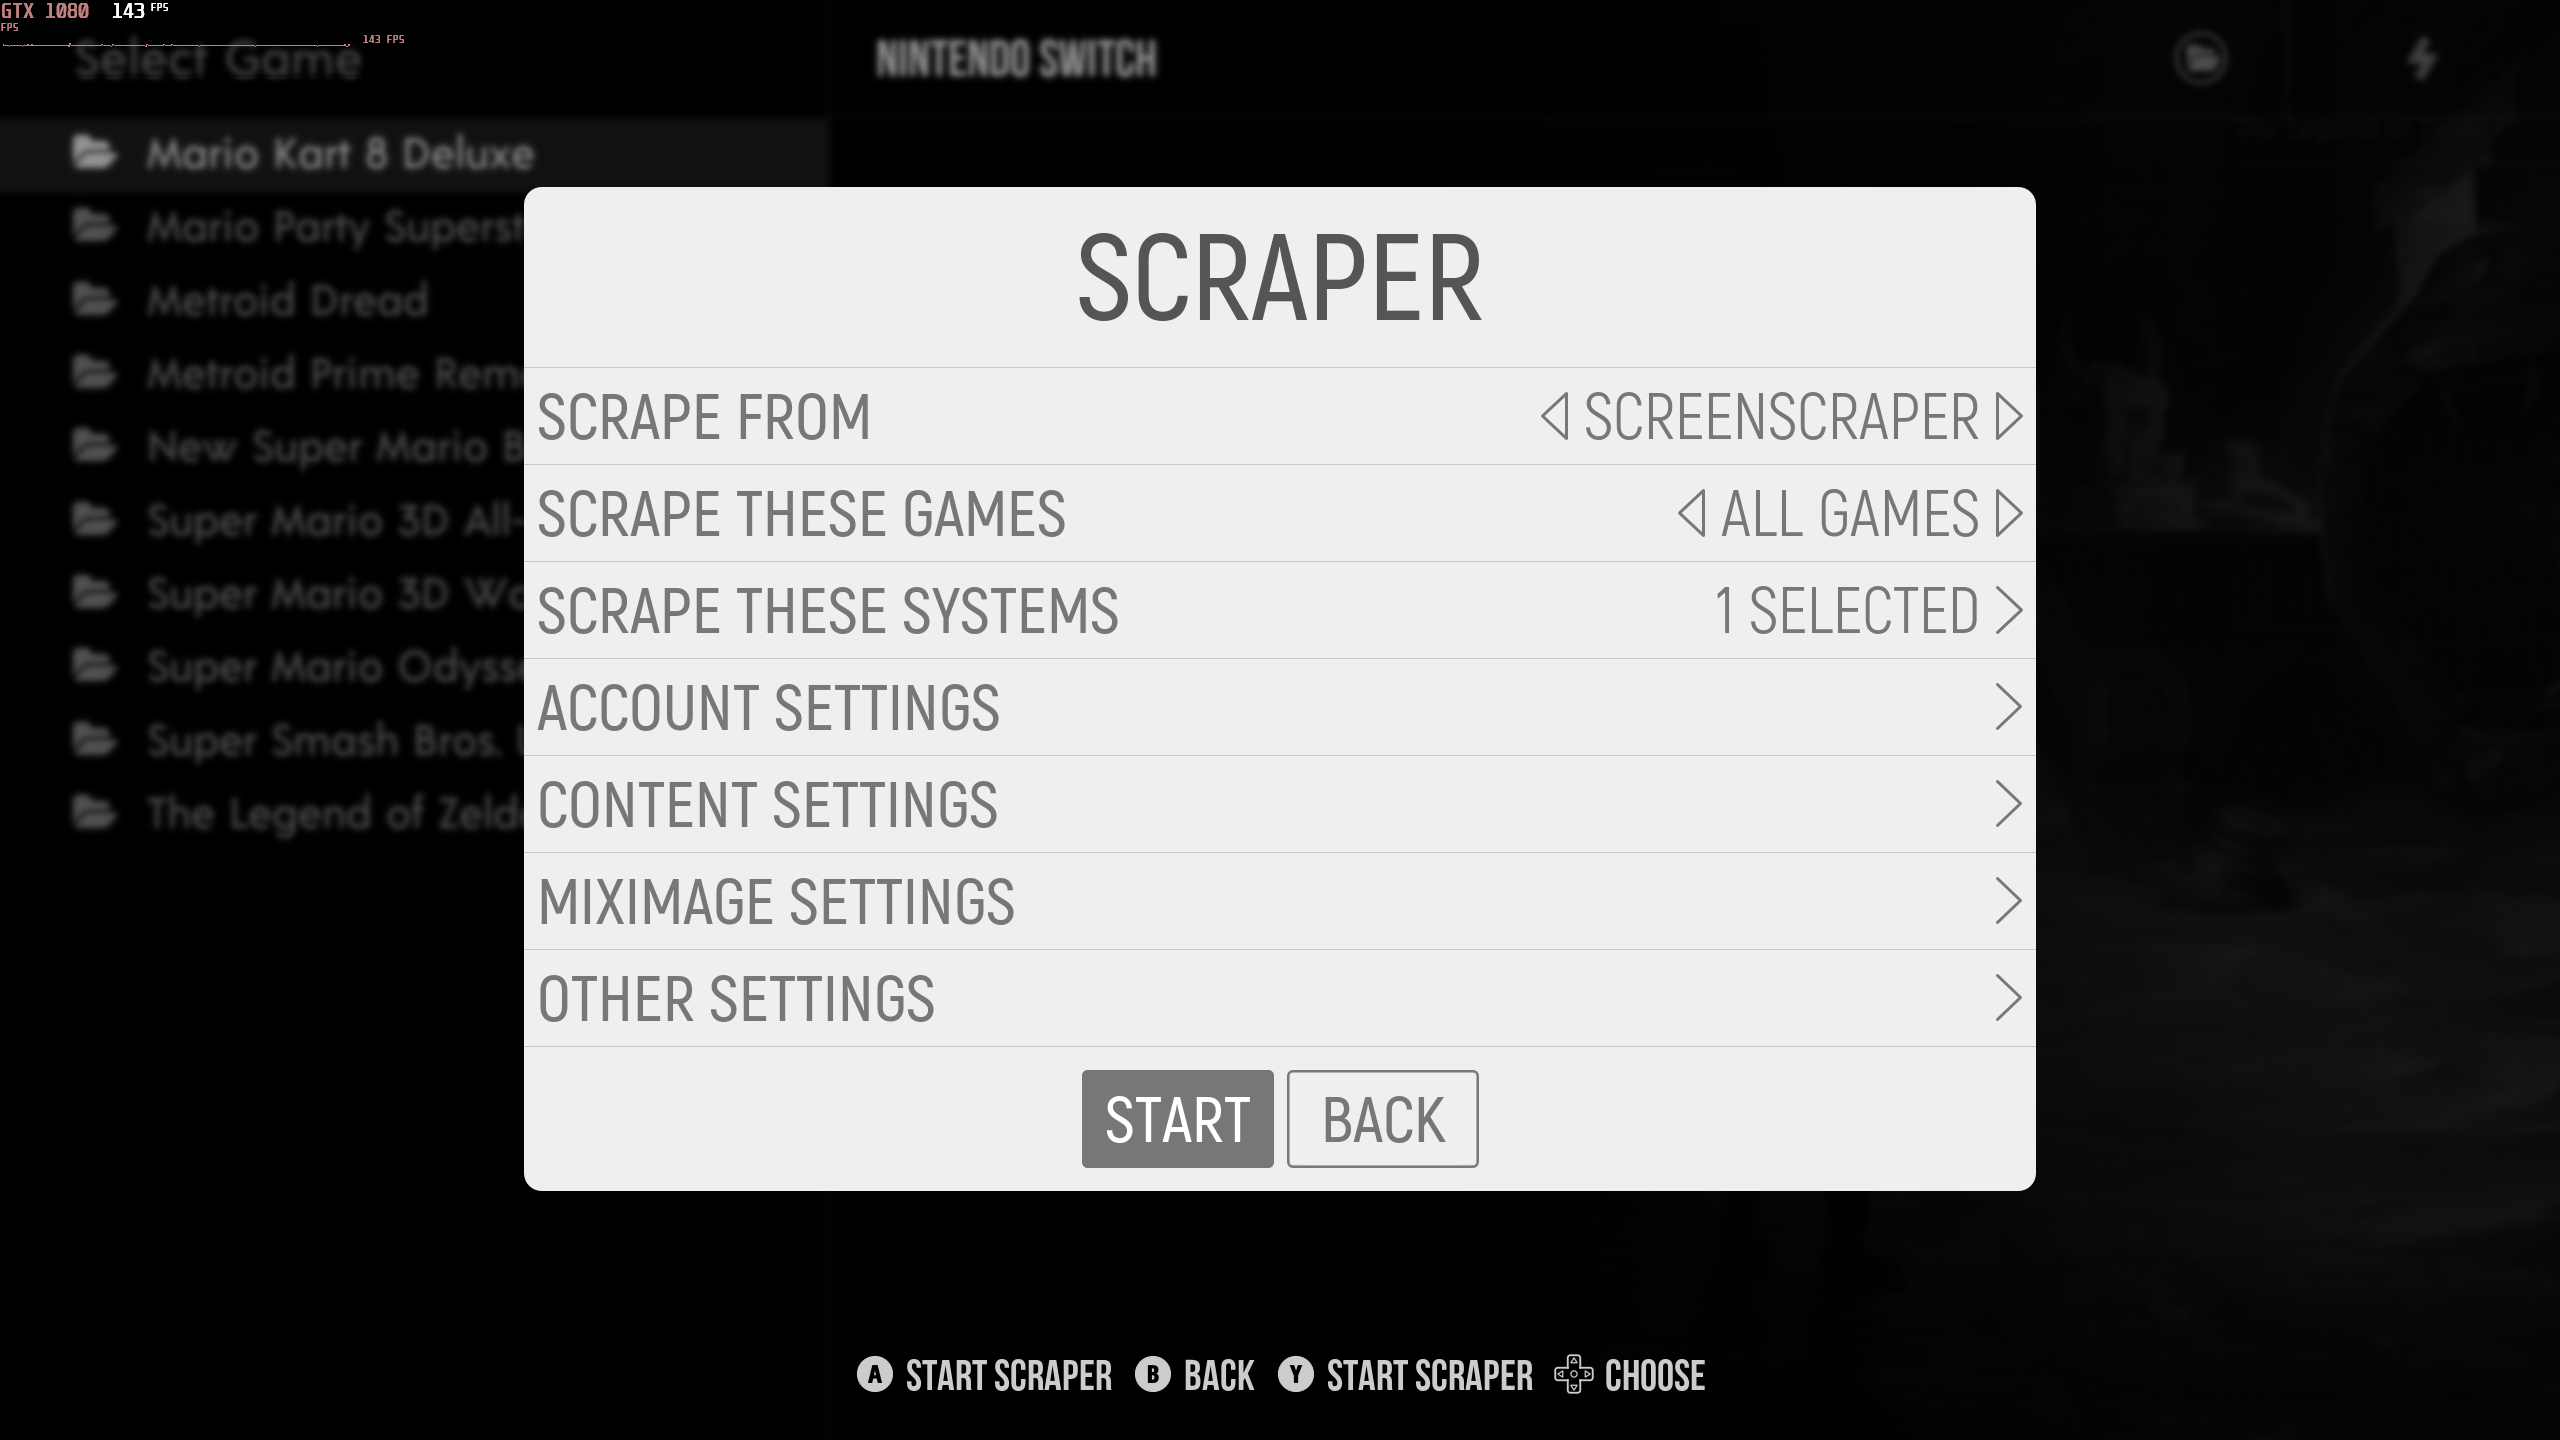
- You can scrape artwork for your roms. Press the menu button, click scraper, select your systems, go back and click start. Depending on how many roms you have this may take a while.
games select system start scraping artwork
Add EmulationStation to Armoury Crate SE
- Inside Amoury Crate press the
Addbutton at the top right. - Press
LB or RBto bring up the file explorer and search for the directory of theemulationstation.exeit should be in the C drive Users folder.

- Press Done and it should look like this.

Controller Issues
If you’re having issues with the Ally on some emulators, open the Command Center and switch your Control Mode to Gamepad.


